AIRBRUSHING: THINGS TO KNOW BEFORE YOU START

Before you start airbrushing you will need to understand the tools required and how they contribute to the effect you want to achieve on your models. The most important things you will need are: an airbrush set including hoses, jars and bowls; an air compressor; paints; small bucket or bowl and thinner.
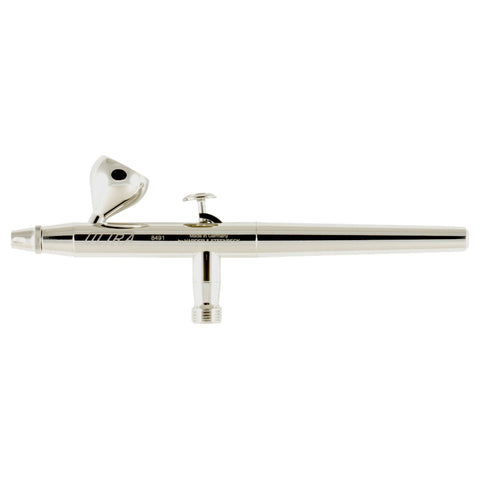
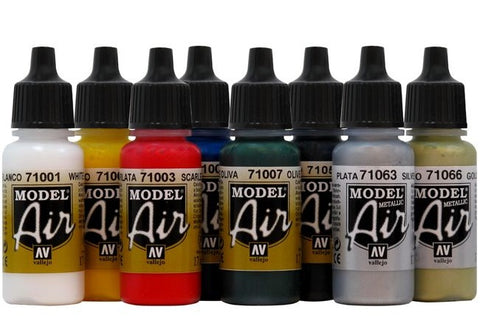
1. There are two major types of airbrushes: single and double action. Modellers often start with a single-action but there is nothing complicated about double, it just takes more practice. With a single action airbrush all you need to do is push down on the button, and paint will come out. With a double action air brush you will have to push down for air, and pull back on the trigger for paint. Single action airbrushes are less expensive and easier to clean because they have fewer parts. Double action offer greater control, flexibility and finer lines, but are also a bit more complex and certainly more expensive. One of the leading brands in producing premium quality airbrushes is Harder & Steenbeck, check out this Model Air set from Vallejo with 10 camouflage colours and the H&S Ultra airbrush. You can also use many other types of paints in your airbrush, getting a poor result is often blamed on the paint, but there are many factors, read on for more.
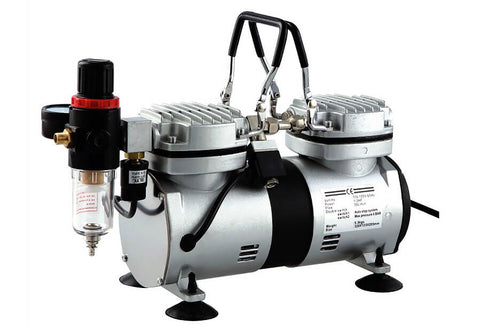
2. For an airbrush to spray properly you will need a compressor that supplies the air pressure. You can choose between a tanked and a tankless compressor. A tanked compressor fills a tank with air which then powers your airbrush, and gives you a constant stream of air. Tankless compressors are cheaper and occupy less space, but they are not so good for long spray sessions because the stream of air is less constant. Note that airbrush compressors are quite expensive because they are designed to be silent or make very little noise (between 50 and 55 db).
3. Choose and prepare your paint. An airbrush allows you to use lacquers, acrylics and enamels. Any paint you choose should be properly prepared before usage. Shake a closed bottle vigorously, then stir the paint with a toothpick, close the cap and shake again. For the paint to run through an airbrush correctly, it usually needs to be thinned (some paints are supposedly pre-thinned - see below). Choose the correct type of thinner and thin your paint until it has the consistency of milk. Remember that you can always add more thinner but you can't always thicken paint, so make sure to practice on a test surface before spraying your model. You can also find liquid acrylics designed for airbrushing like this Model Air range from Vallejo.
4. When working with an airbrush, make sure there is plenty of ventilation in the room or consider working outside when there is no wind. Lacquers generally require you to wear a respirator with a filter. If you are using water-based paints (acrylics), it’s usually enough to wear a dust mask to cover your mouth and nose. There are also airbrush suction units designed to be used at home made by companies such as Wiltec.
5. Always test your paint: try spraying it on a test surface to check the consistency, and practice using your airbrush. To achieve the smoothest effect, keep the airbrush about 8 inches away from the surface of the model.
6. Practice controlling the atomisation – how finely the paint particles are sprayed – by regulating the air pressure. The higher the pressure, the finer atomisation you will achieve. Start at around 10 psi, try spraying, and then turn the pressure up until you get the desired effect. Remember that every colour sprays slightly differently. Lighter colours, especially white, tend to cause more problems than darker ones. Thicker paints require greater pressure to pull and atomize the paint, and vice versa.
7. Paint buildup can harm the airbrush, so always remember to clean it with a thinner. Clean your airbrush when you change colours and at the end of every painting session– it solves most airbrushing problems.
8. An airbrush uses a well on the top to feed the paint down to the nozzle, getting the paint from the bottle to this well is tricky, you don't want to try and pour it in from the paint jar. In our opinion the best thing to do is to use glass eye droppers and small plastic or glass cups. So you have a cup for thinners, a cup for the paint you are working with and you eye drop from the paint jar into your cup, then mix, then eye drop from your cup into the airbrush well.
Troubleshooting and common questions:
I want to use Tamiya Paints, any advice?
Yes, Tamiya paints are excellent for airbrushing and we recommend you use a ratio of 1:1 (1 drop of paint to 1 drop of thinners). Stick to Tamiya thinners.
I seem to be using up all my paint very quickly, what to do?
This is a common mistake for beginners - usually this means the psi or pressure on your airbrush is too high. For scale modelling we rarely want the paint to leave the airbrush so fast, so make sure you start at around 10 psi. To learn how to change the pressure on your airbrush, consult the manual.
I am getting splatter or inconsistent pressure, how to fix this?
This is less of an obvious problem - it could be the paint needs to be thinned further, it could be related to the level of pressure (some thicker paints need a bit more than 10 psi) or it could be your airbrush isn't cut out for spraying for long periods of time (overheating). Try running thinners through your brush to clean it out and see if that helps.
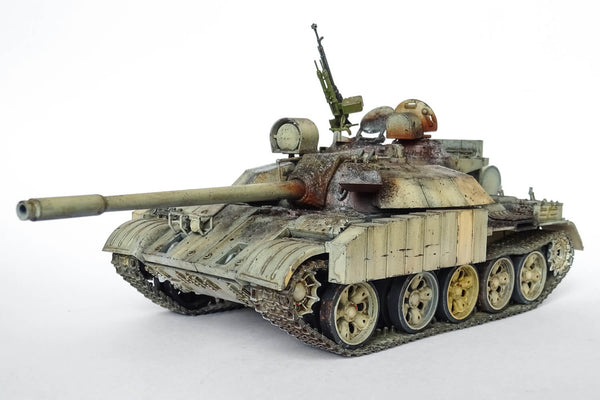
What is colour modulation?
Colour modulation is where you want to try and create the sense of light hitting the model. This subject deserves a long blog post on its own, but a quick start guide is that you want to choose your base colour, then us black to darken it a bit, start with this as a base coat, then use the base colour to build up highlights slowly. Next add white to your base colour and build up the highlights even further. The range of your dark to light areas will depend on how dark you start and how much white you add. Our advice is don't test your first modulation on an expensive model, test on something cheaper.
Have another question you need answered? Email us and we will answer you and add it here for others to see.
If you would like to see a guide on a different aspect of modelling, please drop us an email or message us on Facebook or Instagram.

Leave a comment
Comments will be approved before showing up.
Also in News, reviews and guides for 1/35 scale modelling

© 2026 Panzer Models. Prepared by Article.
Panzer Models
Author