1/35 scale Tiger I from Academy - Out of the box build
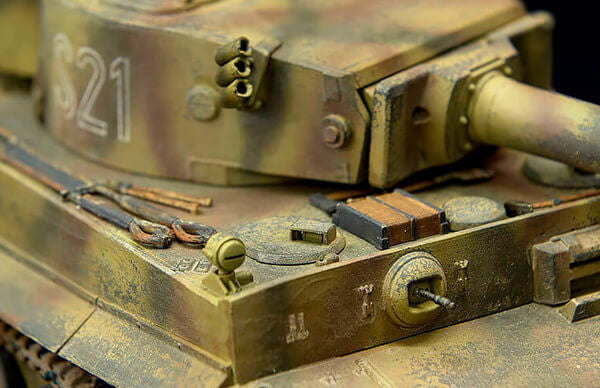
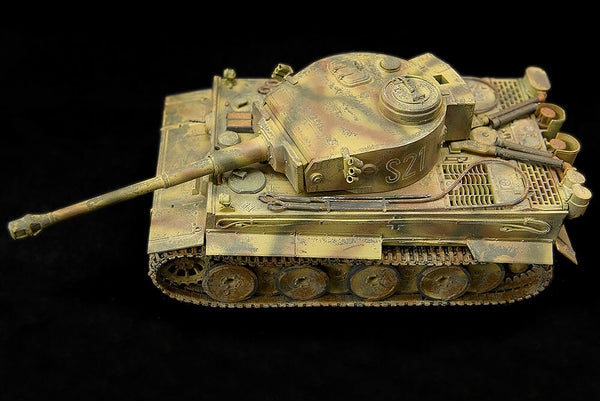
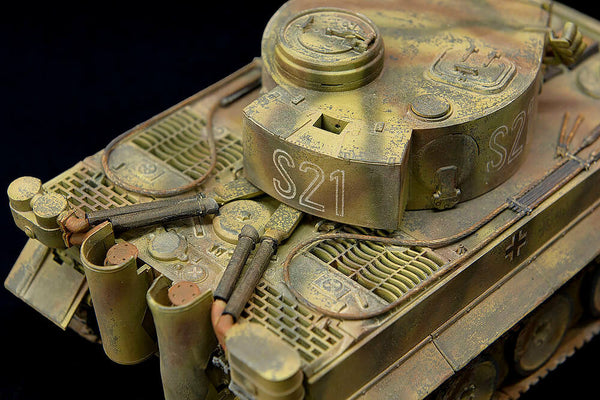
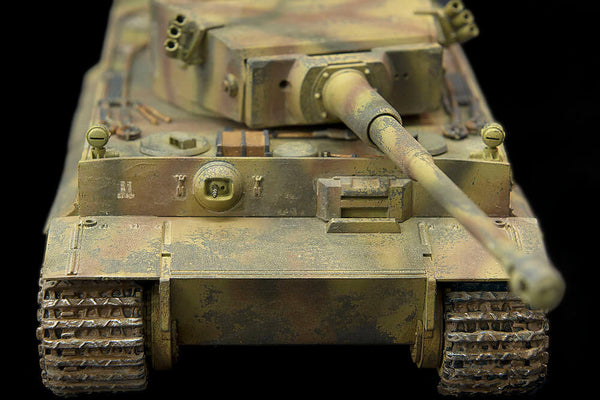
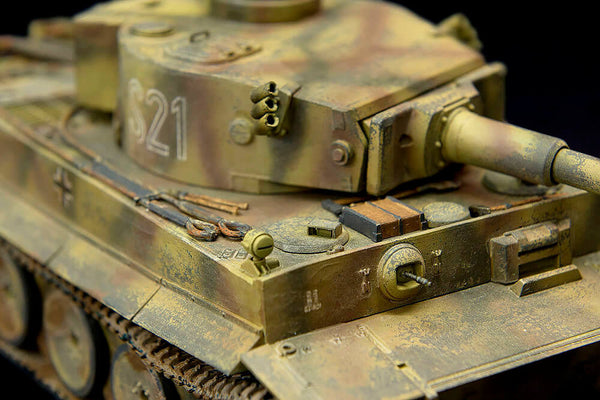
In this post we would like to share a build of the Tiger I tank in 1/35 scale with step by step photos, all done by Canadian modeller Jon Blacker who we've enjoyed collaborating with. The kit used is the German Pz. Kpfw. VI Tiger I (Early version, no interior) from Academy, kit #13264.
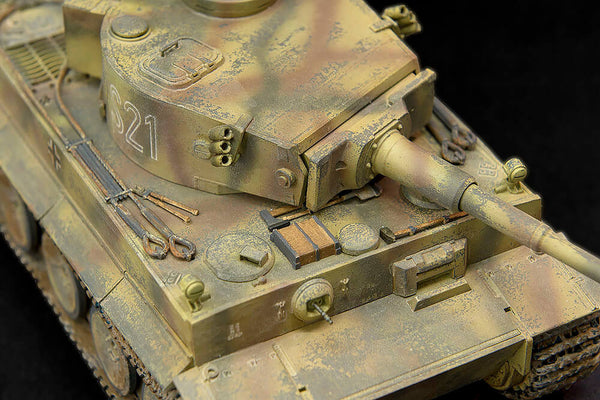
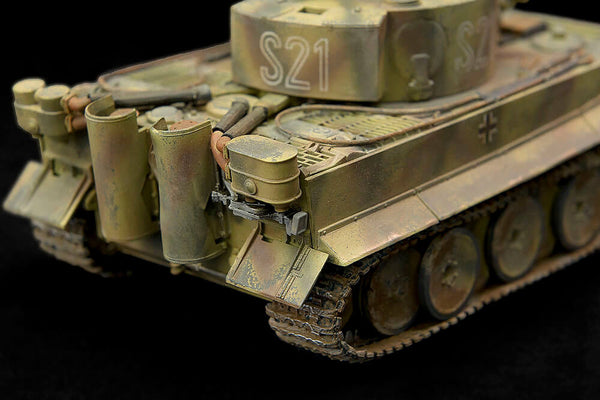
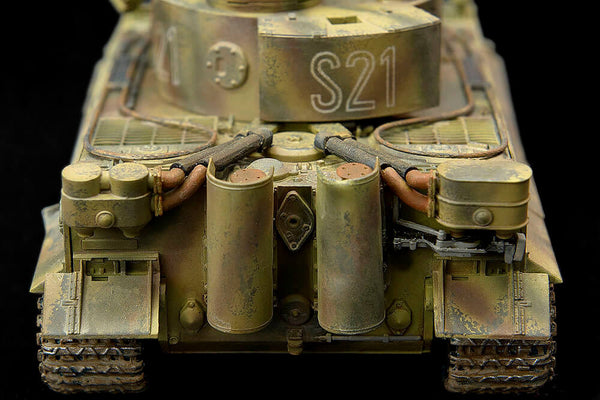
The kit was built straight from the box with no aftermarket additions. However, some modifications have been made during the process - for example, the damage to the mud guards, which have also been separated into individual sections.
And now - for the build...
Step 1 - The tank has been partially assembled. There is still a number of detail parts to add to the upper hull before the painting process begins.
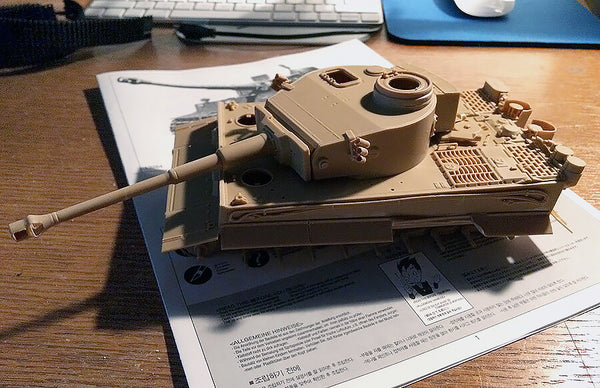
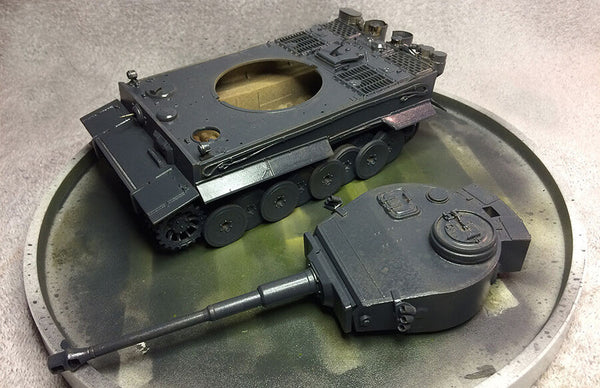
Step 2 - The Tiger with a base coat and several coats of sealer. The sealer will need a day or two to fully cure and will be followed by a few coats of hair spray and some colour. The tank will have a dark yellow/green/red-brown camouflage pattern.
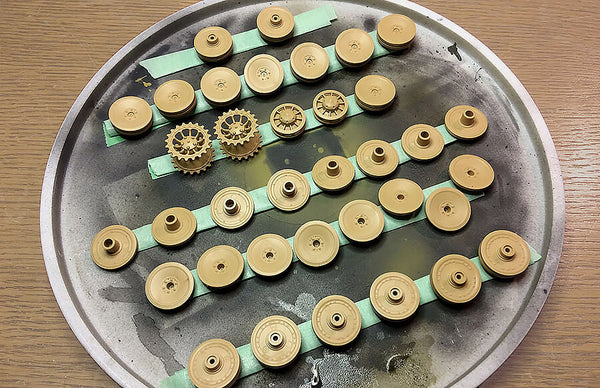
Step 3 - The wheels are painted with a light base coat, and then sealed with Future.
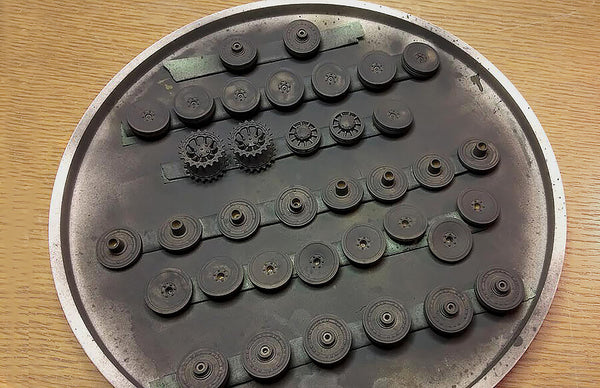
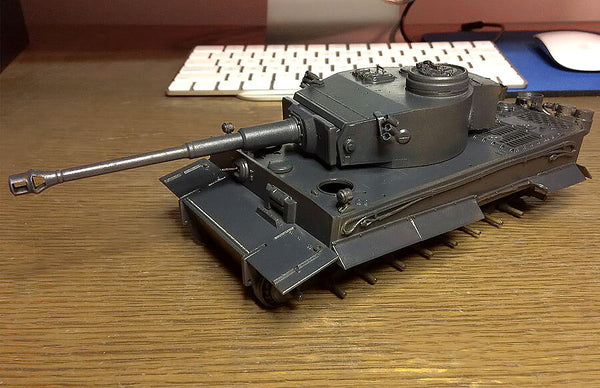
Step 4 - The wheels are then installed and the entire model is sprayed with a coat of hair spray.
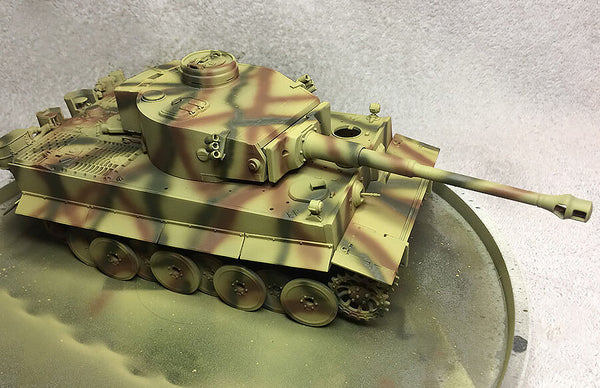
Step 5 - The Tiger is sprayed with Tamiya XF60 Dark Yellow and a tri-colour camo treatment with Tamiya XF64 Red Brown and XF70 Dark Green.
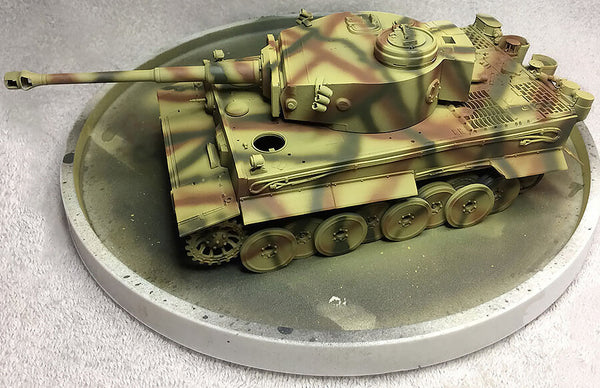
Step 6 - Time for adding some heavy chipping effects with water, a stiff short bristled paintbrush and an old toothbrush.
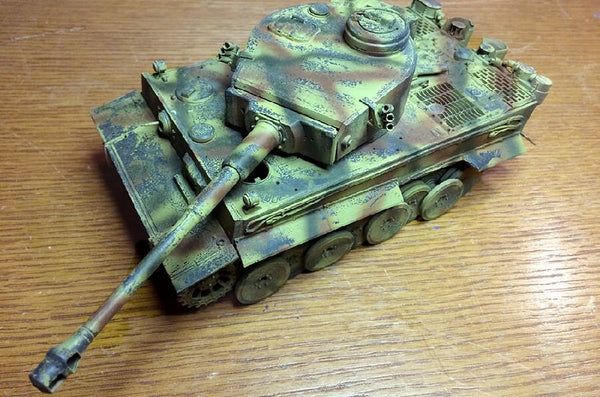
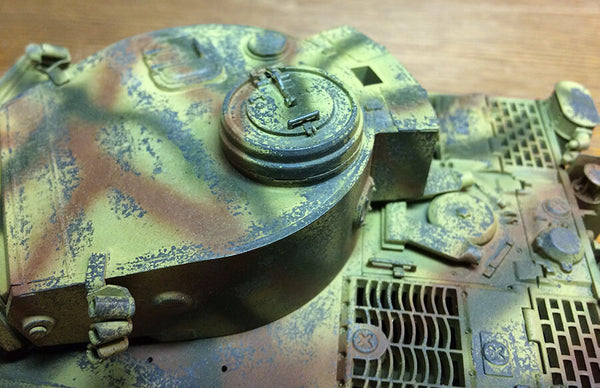
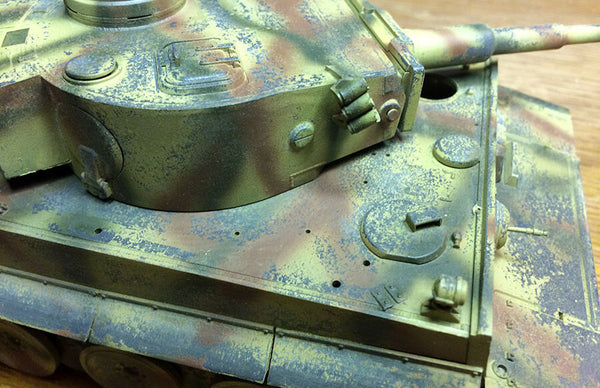
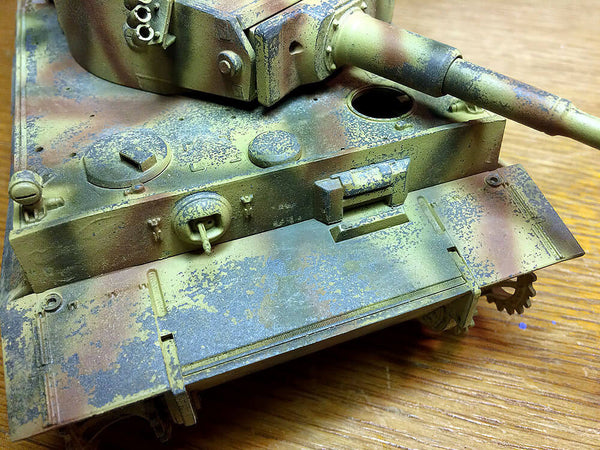
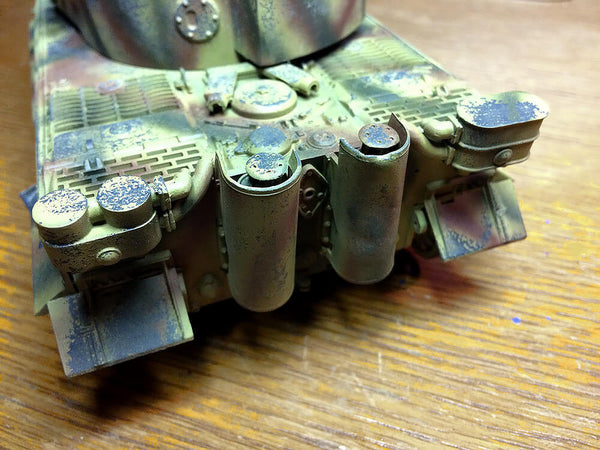
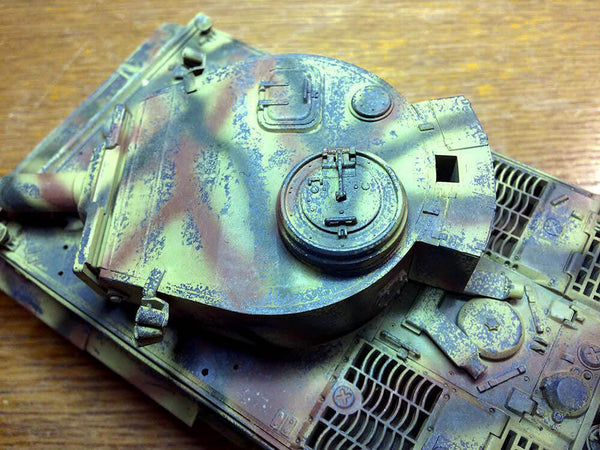
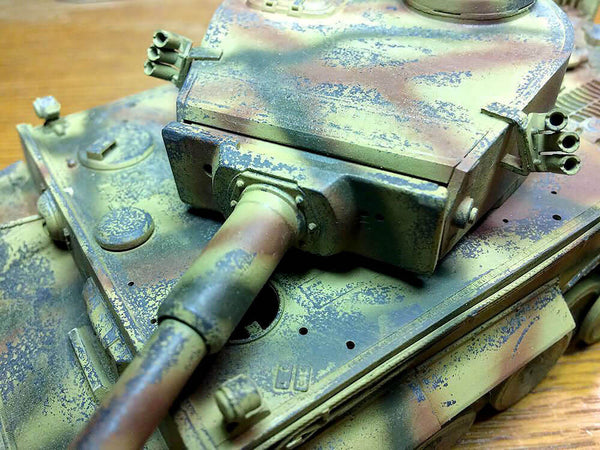
Up next - washes which will tone down both the overall paint as well as the chipping, followed by some rusting and weathering.
Step 7 - Tools and tow cables are done. This will be followed by muddying up the tracks and a few more touch ups before the model is complete.
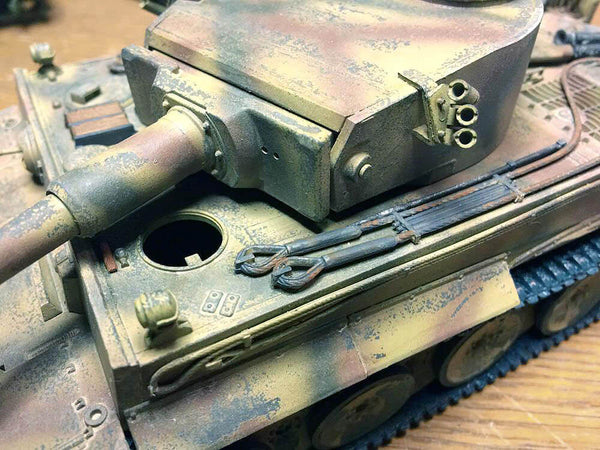
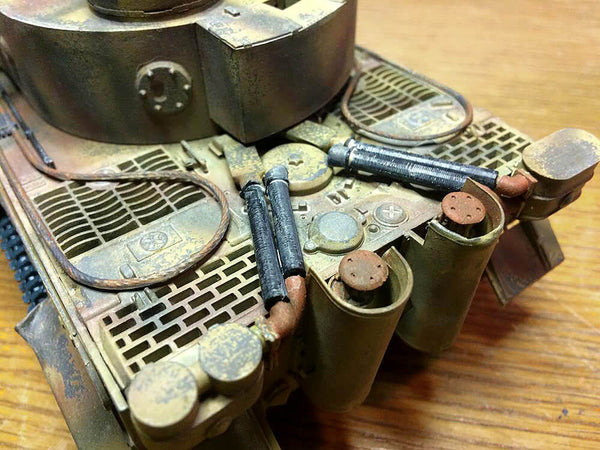
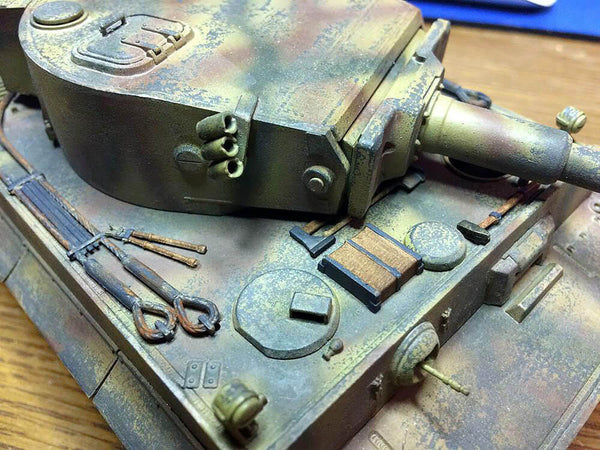
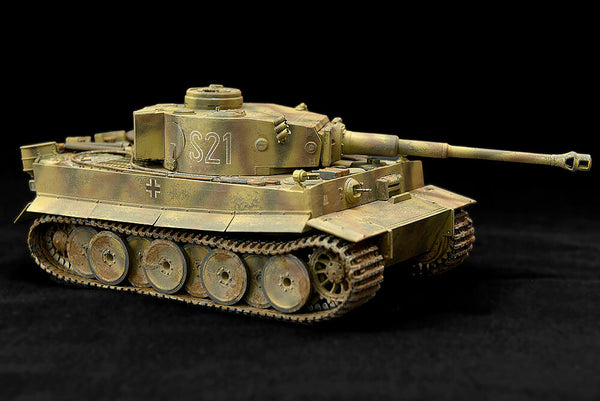
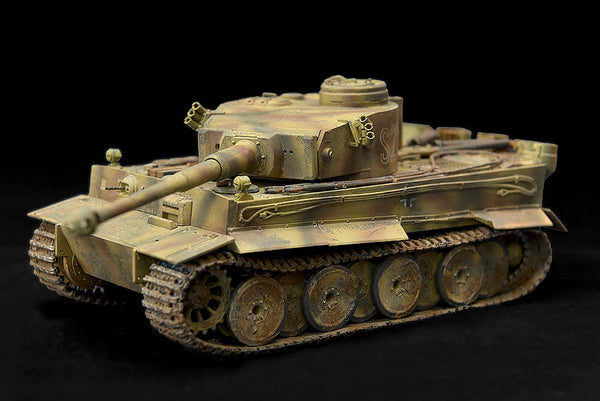
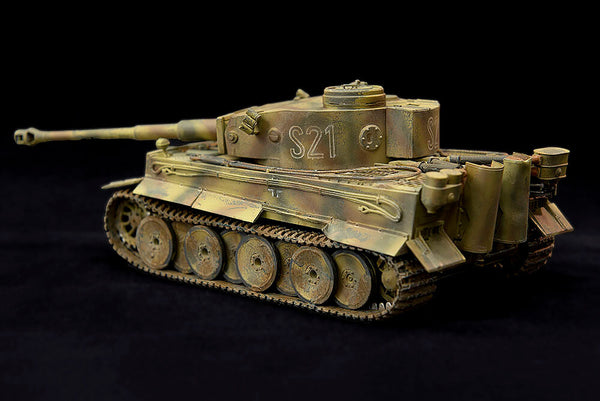
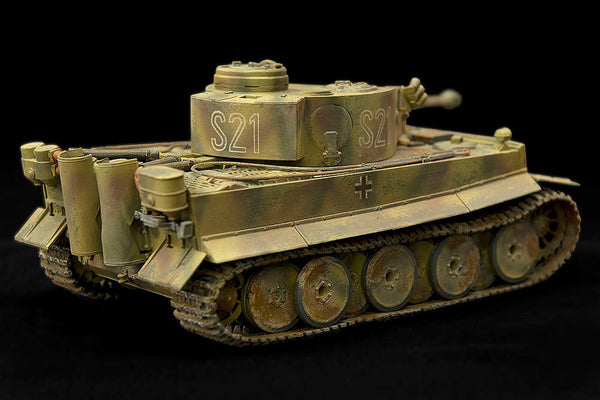
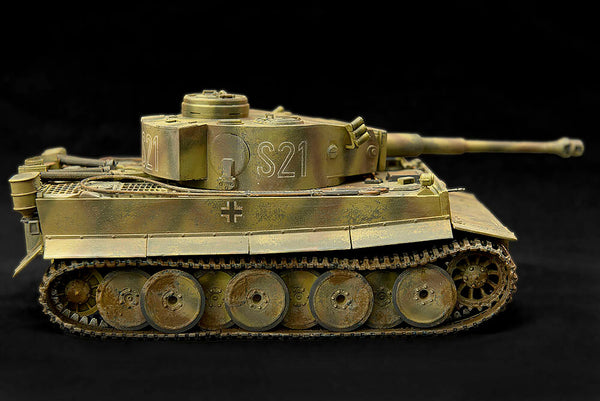
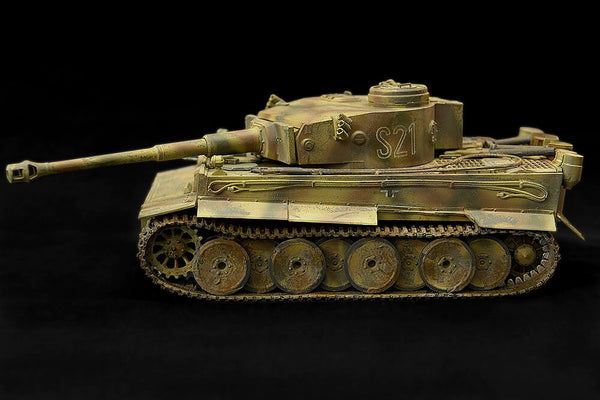
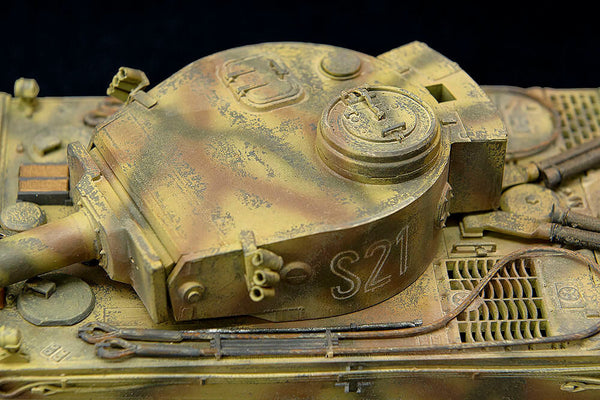
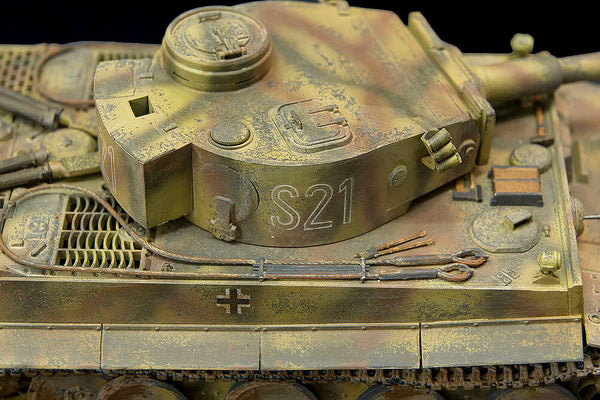
Step 8 - The Tiger is complete. As we mentioned earlier, it is 100% out of the box, including the rubber band tracks, with no aftermarket details with a single exception - Jon used Alliance ModelWorks airbrush stencils for the numbers, crosses and the division mark instead of the decals that were included in the kit.
Paints used - a mix of Tamiya for the base colour & camo, and cheap craft store acrylics for the undercoat and weathering, with a dark gray base and hair spray coat for chipping of the camo coats.
Big thanks to Jon for working on this build and providing us with the photos, we look forward to our next collaboration.
Enjoy!
1 Response
Jenna Hamilpuff
do you have any tips for the snow scheme of Tiger 1?
Leave a comment
Comments will be approved before showing up.

Panzer Models
Author