The Snow Panther by Bruno Capeller
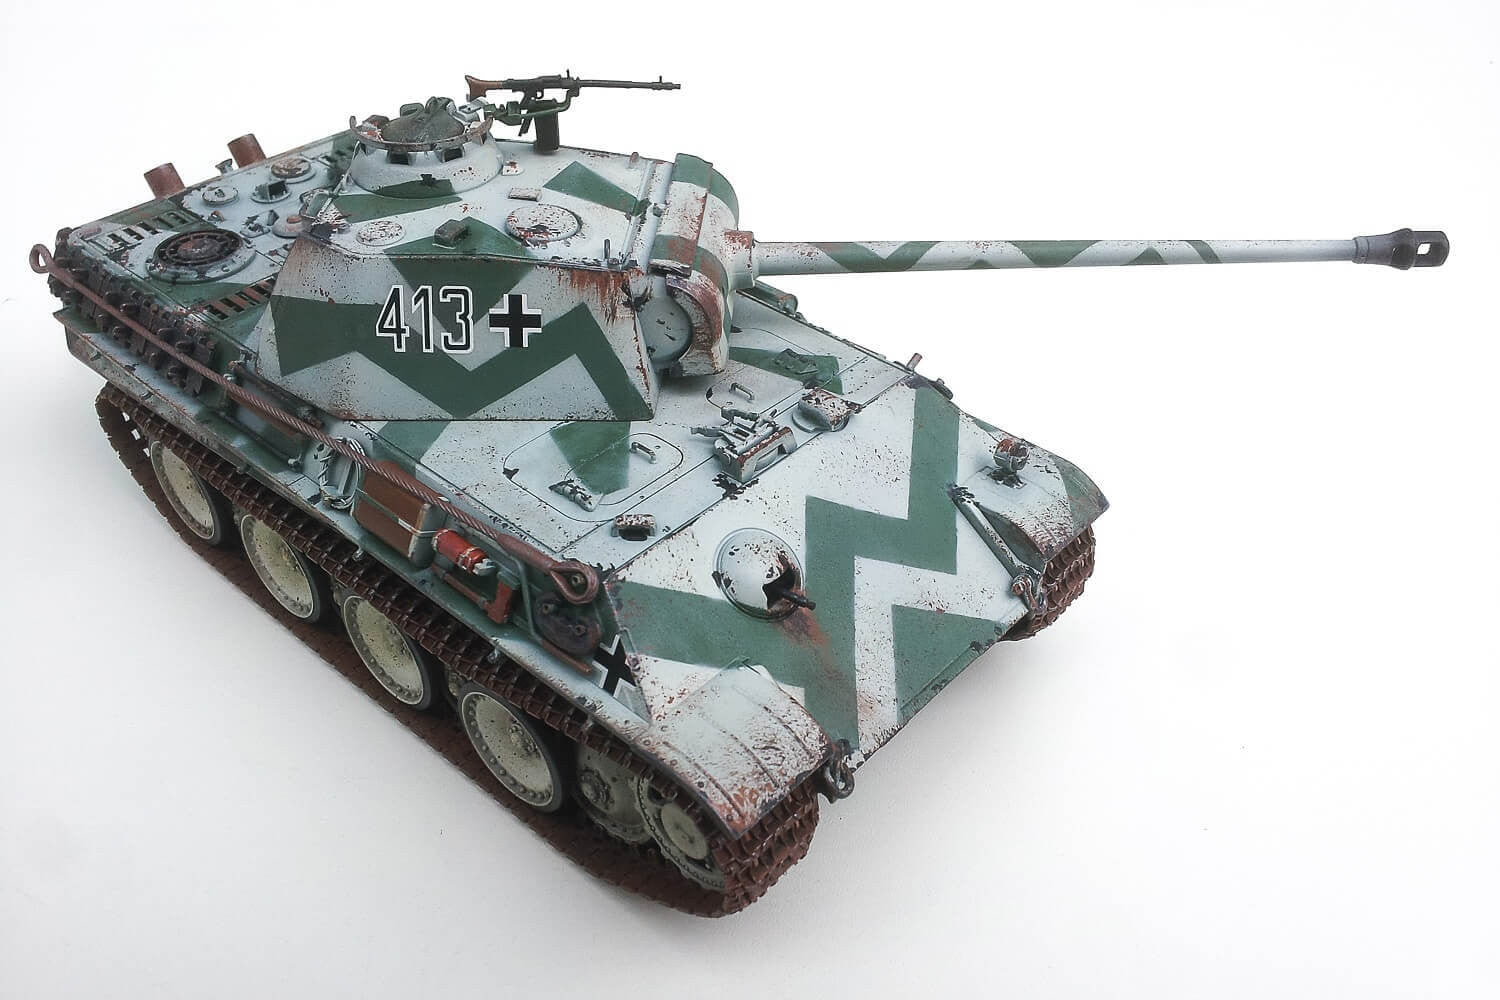
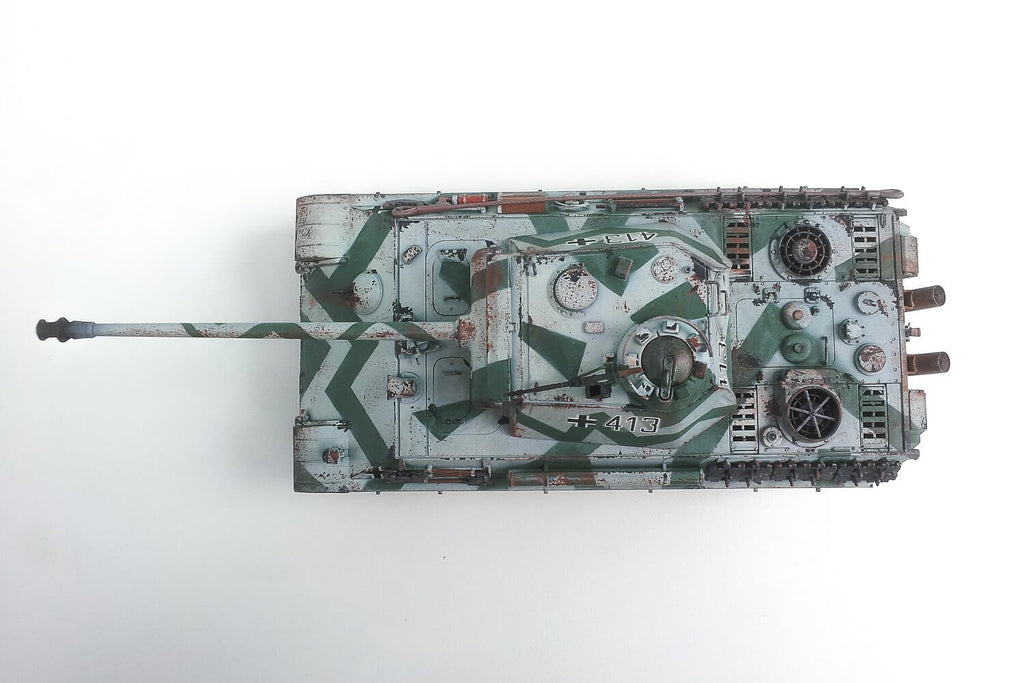
In this post we want to show off an impressive build of the German Panther tank shared with us by a talented modeller from Brazil, Bruno Capeller. Several versions of this tank were produced between 1943 and 1945, and this kit is the last one, the version G. For this build Bruno used Tamiya's 1/35 scale kit which he chose to paint in winter camouflage colours. The markings represent a tank used by the 116th Panzer Division.
The tank was mostly painted with an airbrush, with the exception of a few details that were finished with a brush. Bruno used a mix of water based acrylic paints from various manufacturers.
All parts were primed with a grey colour separately (main body, tower, wheels, tracks). Then a base layer of green was applied - a mixture of Vallejo RAL6020 with White and a little water. One application was enough. Once the base layer was completely dry, small straps of adhesive tape were applied to form the camouflage pattern. This process is very time consuming, and care should be taken not to remove the paint from the previous layer. The final camouflage pattern is based on historical photos with a number of changes.
The next step was applying a coat of white paint from the Vallejo Panzer Aces range "German Winter Tank Crew" over the areas that were not covered with the tape. One application was sufficient for the purpose. Once the white paint was dry, the tape was carefully removed and the winter camouflage pattern was ready.
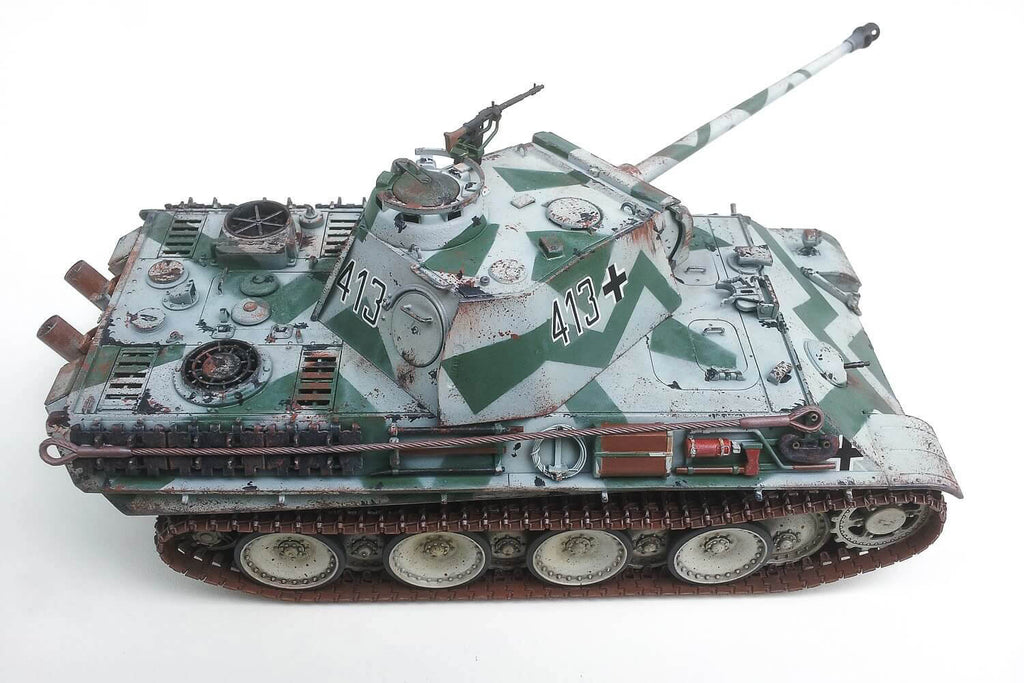
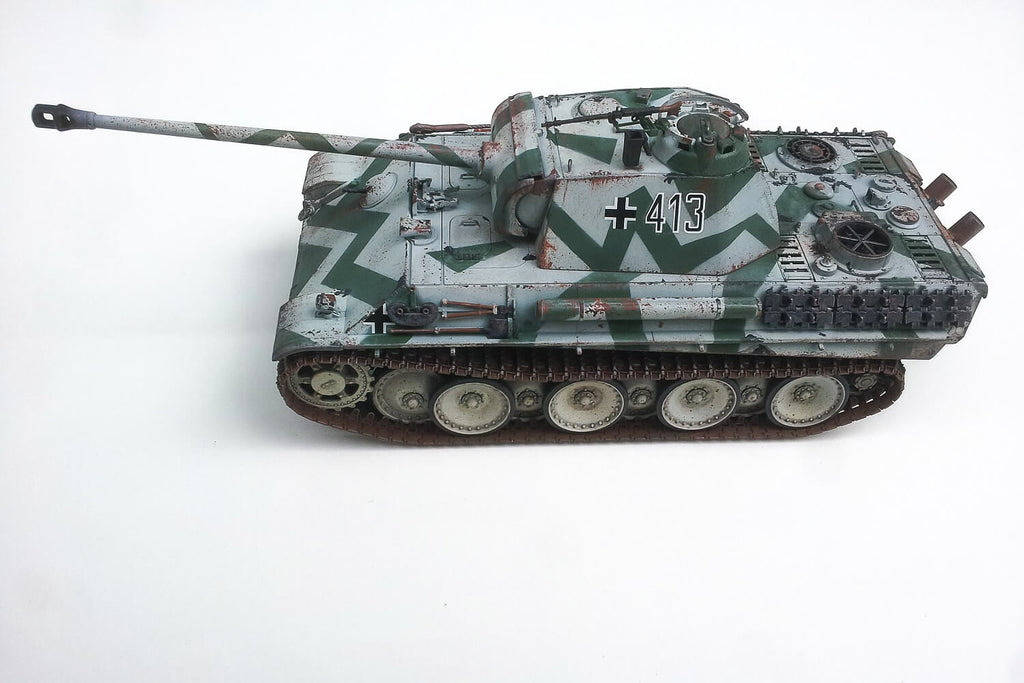
The wheels were painted separately. Bruno coated them in the same white colour from Vallejo followed by the black paint from Acrilex (Brazilian manufacturer) applied with a brush. For the tracks, "Light Rust" from Vallejo was used with a few drops of black paint and some water to make the right mix to apply with an airbrush. Two layers were applied on each side of the tracks followed by a paint called "Tin" from Corfix (Brazil) applied using the drybrush technique.
As for the ageing effect, Bruno chose to replicate rust caused by weather conditions and battles. It should be noted that when these tanks were manufactured, Germany suffered from a lack of raw materials and everything was rationed. This resulted in the vehicles being painted in fairly thin layers, therefore rust and chipping caused by the use were evident even after a short time. This was taken into account when painting this Panther Ausf. G.

Thank you for reading and big thanks to Bruno for sharing this build with us!

2 Responses

Ken Campbell
Absolutely beautiful, iv never seen a tank in this Camo configuration. Weathering really well applied. All in all I think it’s a masterpiece. Should be on a winter diorama or pedestal. Well done Bruno

Bruno
Great post! Thanks for all the support!
Leave a comment
Comments will be approved before showing up.
Also in News, reviews and guides for 1/35 scale modelling

© 2024 Panzer Models. Prepared by Article.
Panzer Models
Author